If you need to issue e-invoices in Malaysia, the first step is to link your company in the MyInvois Portal. This process ensures your company is registered, your roles are set, and you can start using the portal efficiently. Below is the step-by-step guide with image references for each stage.
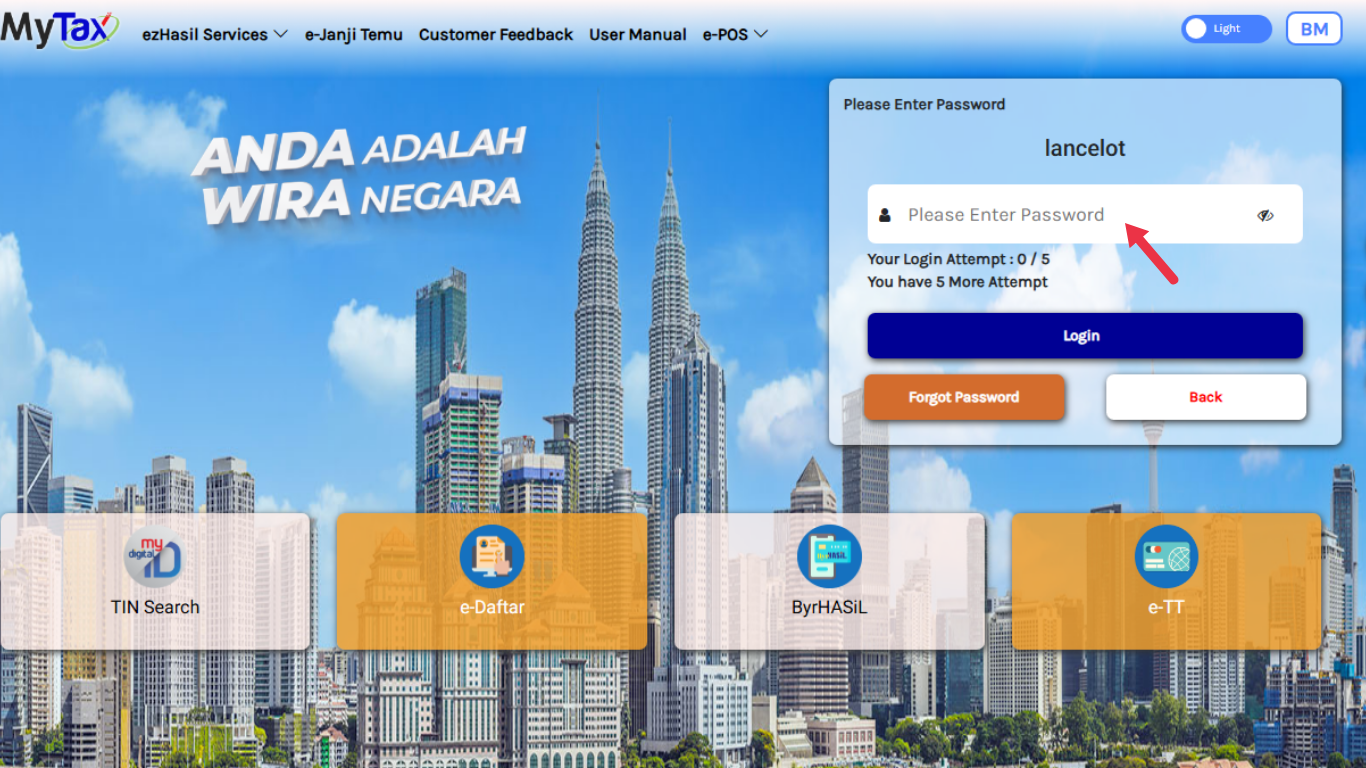
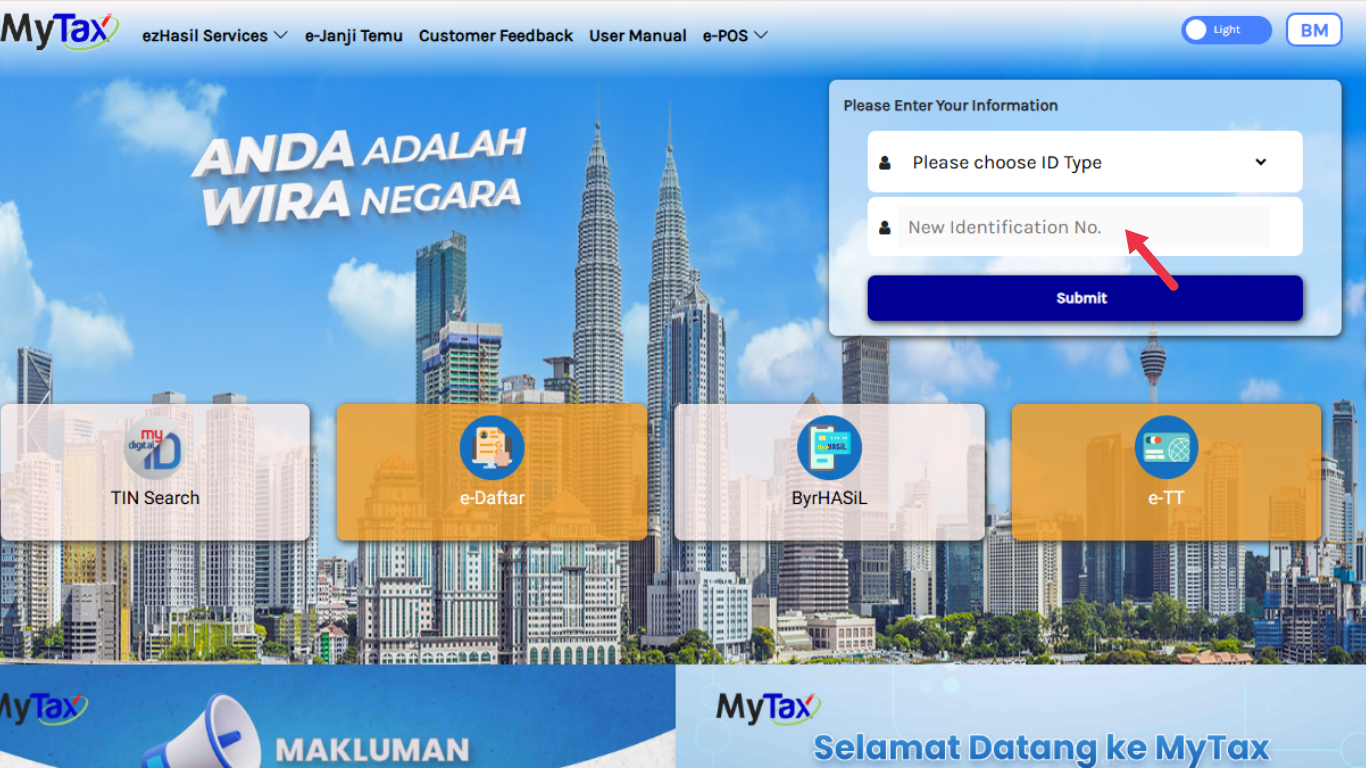
Login using your Director/Proprietor/Owner ID & password.
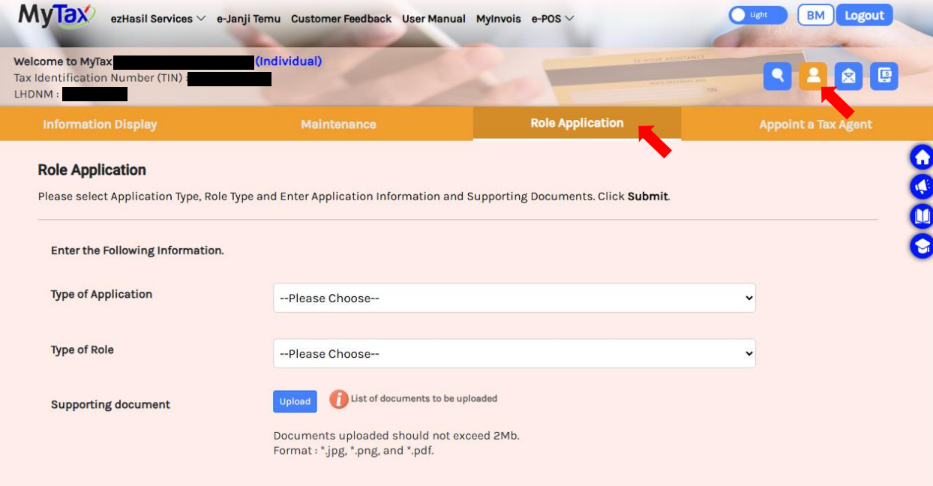
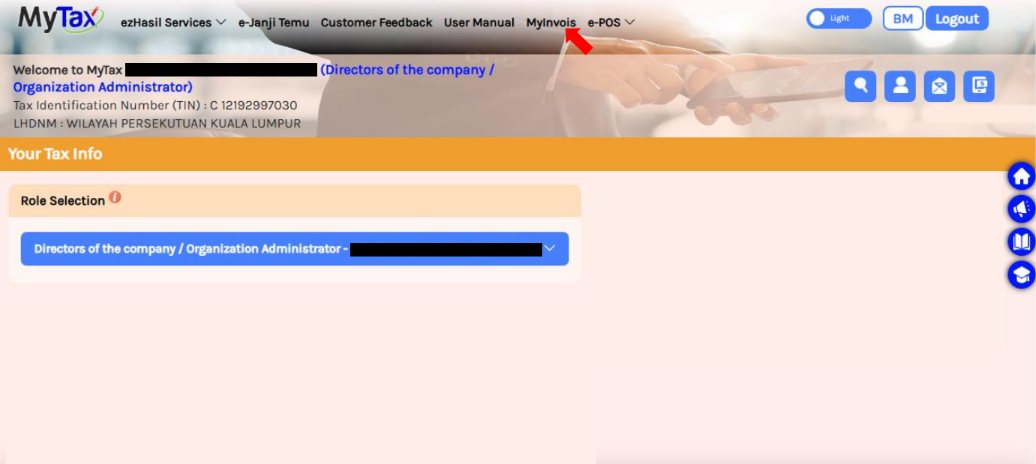
Step 2: Open the Role Application
Click the “human” icon at the top right.
Select Role Application from the menu.
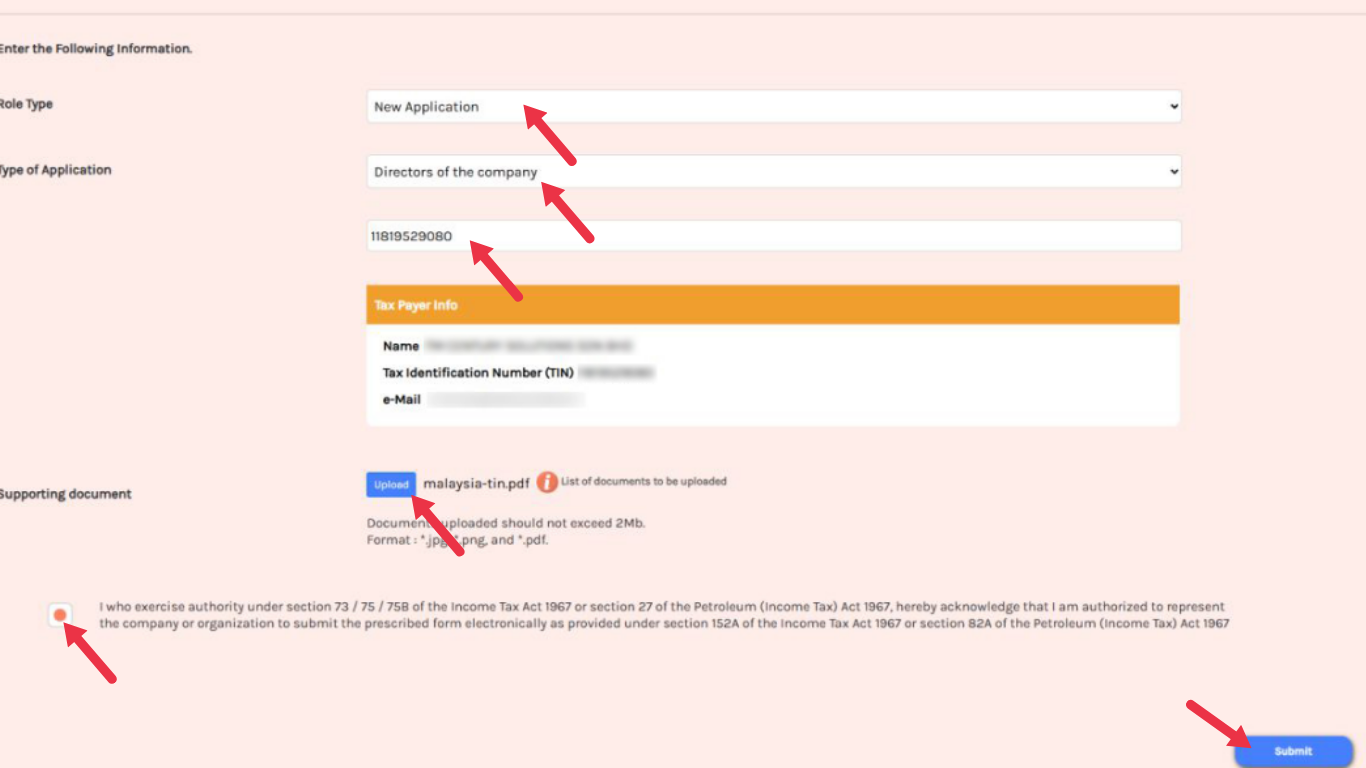
Step 3: Fill in Role Application Details
Complete the form as follows:
Type of Application: New Application
Type of Role: Directors of the Company / Organization Administrator
Company TIN Number: Enter your number
Supporting Documents: Click the “i” icon to view required documents (Form 9, Form 49), then upload them.
Tick the checkbox and click Submit.
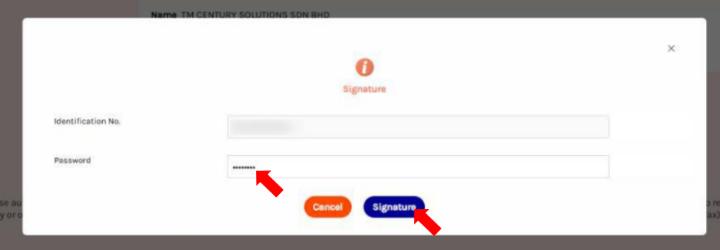
You’ll be prompted to enter your password for confirmation, then click Signature.
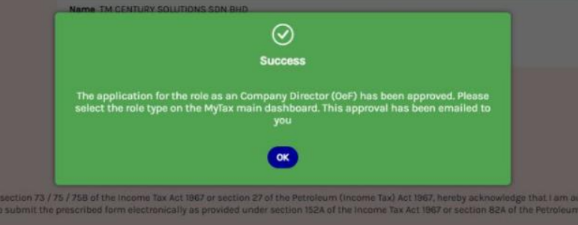
Step 4: Access Your Company Profile
A success message will appear, and you can now proceed to access your company.
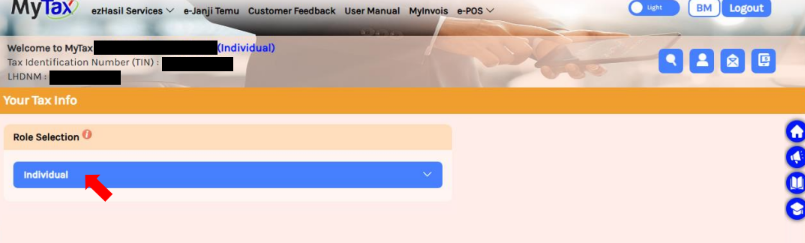
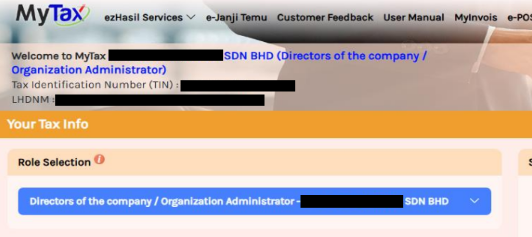
Go back to the MyTax homepage and you will be able to access your company from there.
Click “Individual” under Role Selection.
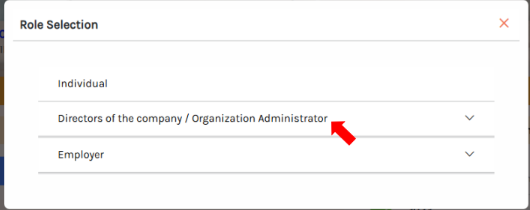
It will prompt a dialogue. Click “Directors of the company / Organization Administrator”,
and you will be able to choose and access your company.
After linking your company, go to the MyInvois Portal and set up your company / taxpayer profile.
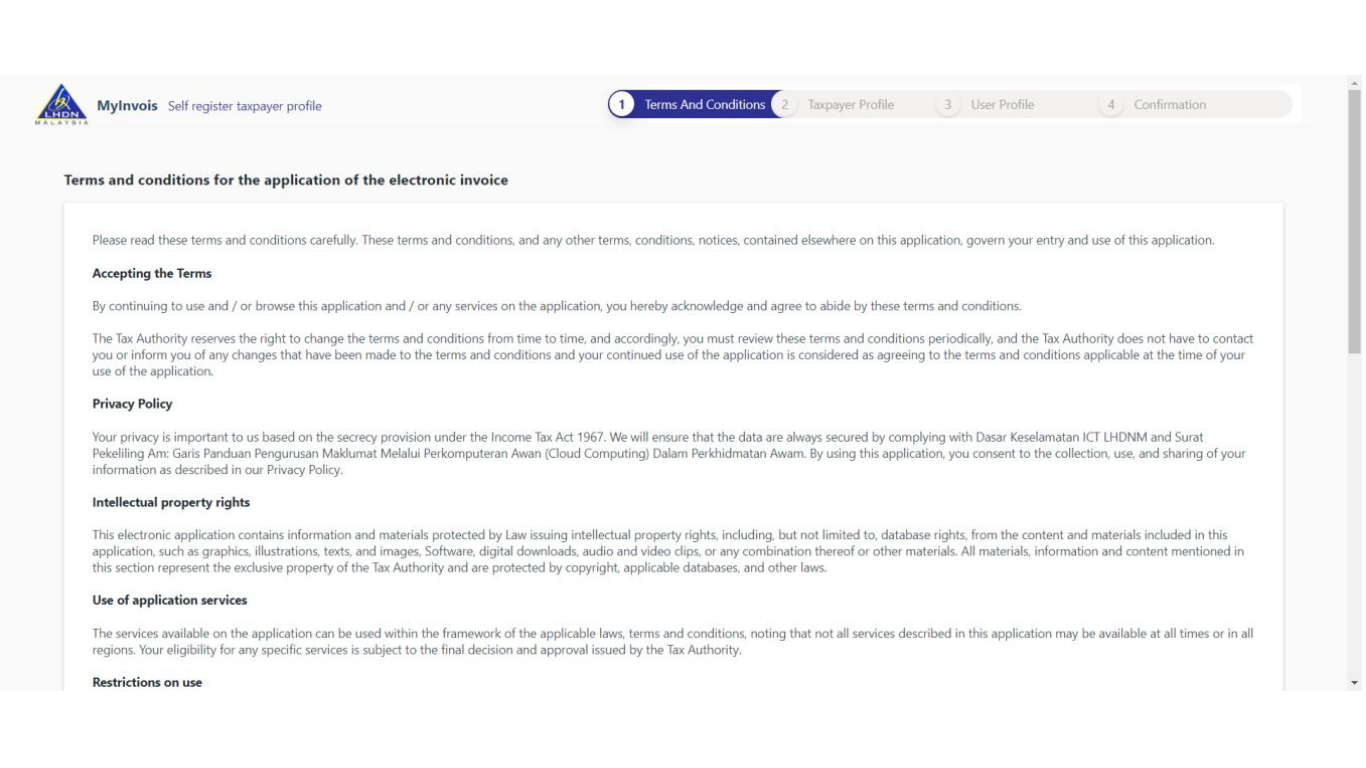
Step 5: Set Up Taxpayer Profile
It will prompt you for the first-time self-register taxpayer profile page. Scroll to the bottom and tick accept on the terms and conditions checkbox, then click “Continue”. *If this does not prompt, you might want to wait for some time because it is not updated into the MyInvois Portal yet.
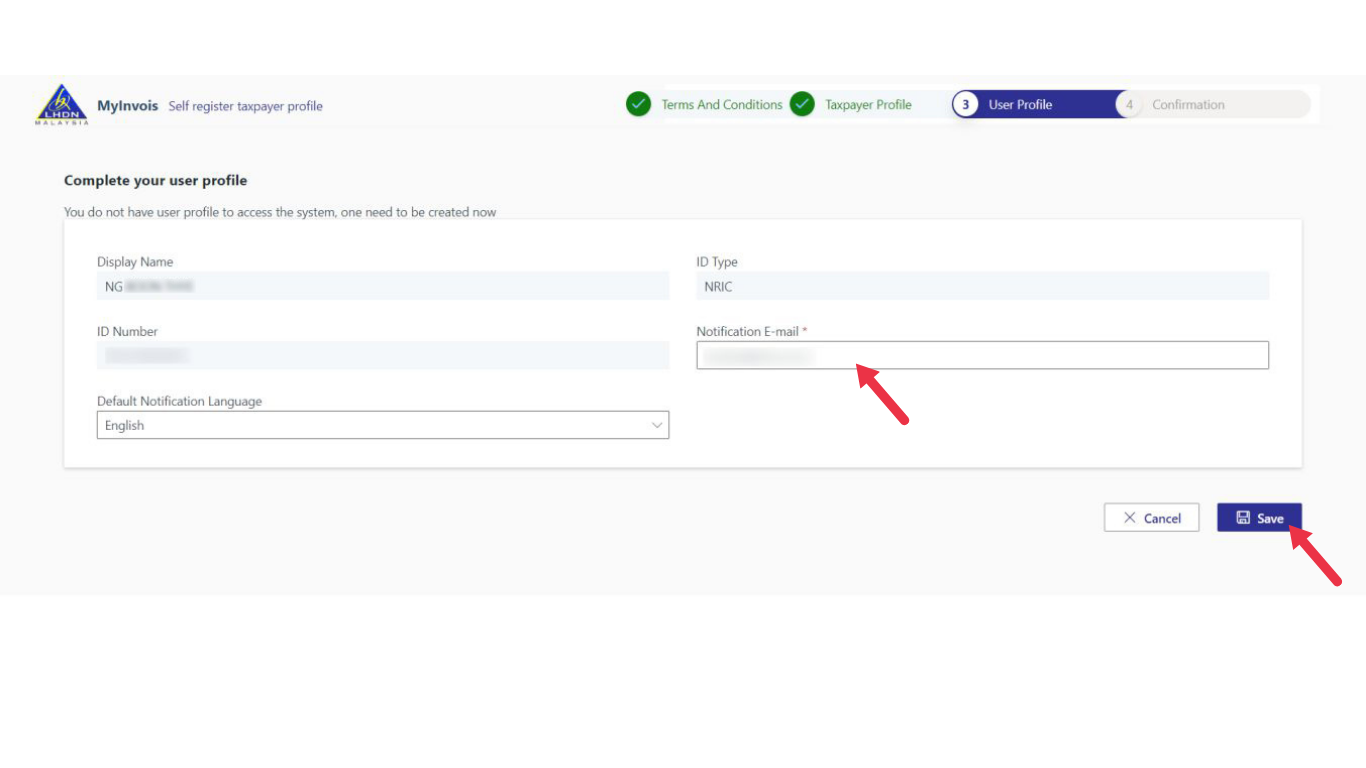
Step 6– Set Up User Profile
Enter your email address and click “Save”.
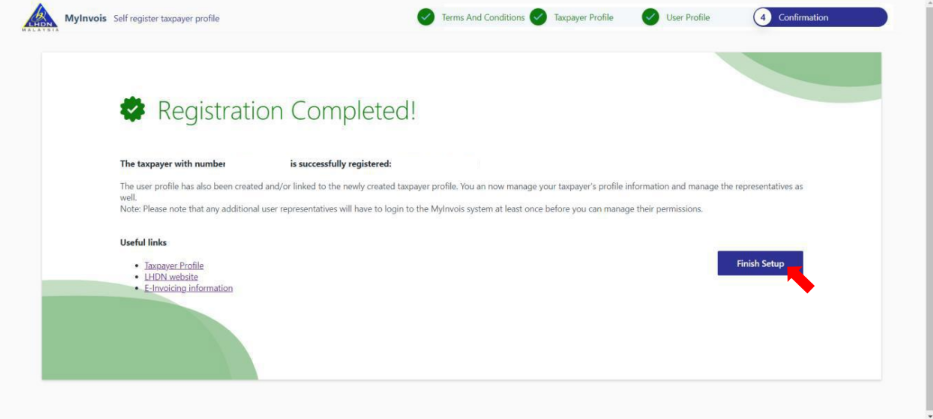
The Registration Complete page will appear — click “Finish Setup”.
Step 7 – Done
Enter your email address and click “Save”.
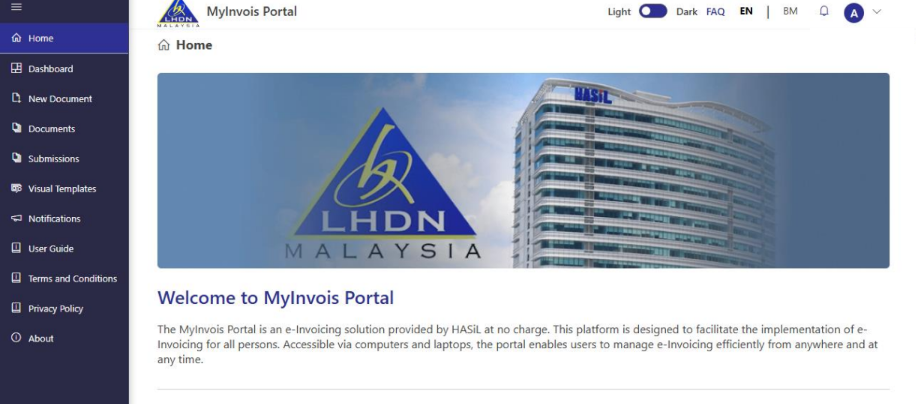
The Registration Complete page will appear — click “Finish Setup and you will now be on your company’s MyInvois Portal dashboard.”.